MFP Connect: Scan from the Multifunction Printer Panel
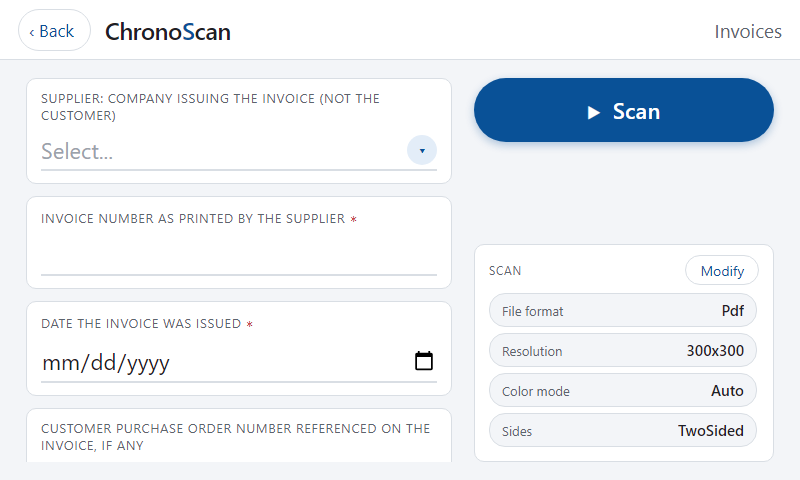
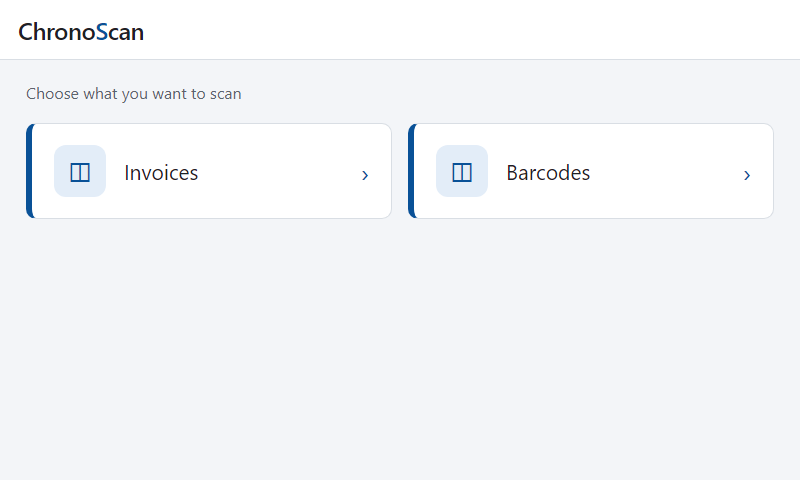
A ChronoScan button on the touch screen of your multifunction printers: choose what to scan, type the index data on the device and the batch arrives in ChronoScan ready to process.
Capture at the Device
Index Documents Where They Are Scanned
MFP Connect turns every multifunction printer into a ChronoScan capture station. The user presses the ChronoScan button on the device, picks what to scan, fills in the index fields on the touch screen and scans. The document reaches ChronoScan as a new batch with its data already attached, and the hot folder engine processes and exports it like any other batch.
Managed from ChronoScan
Register the Machines, Define What They Scan
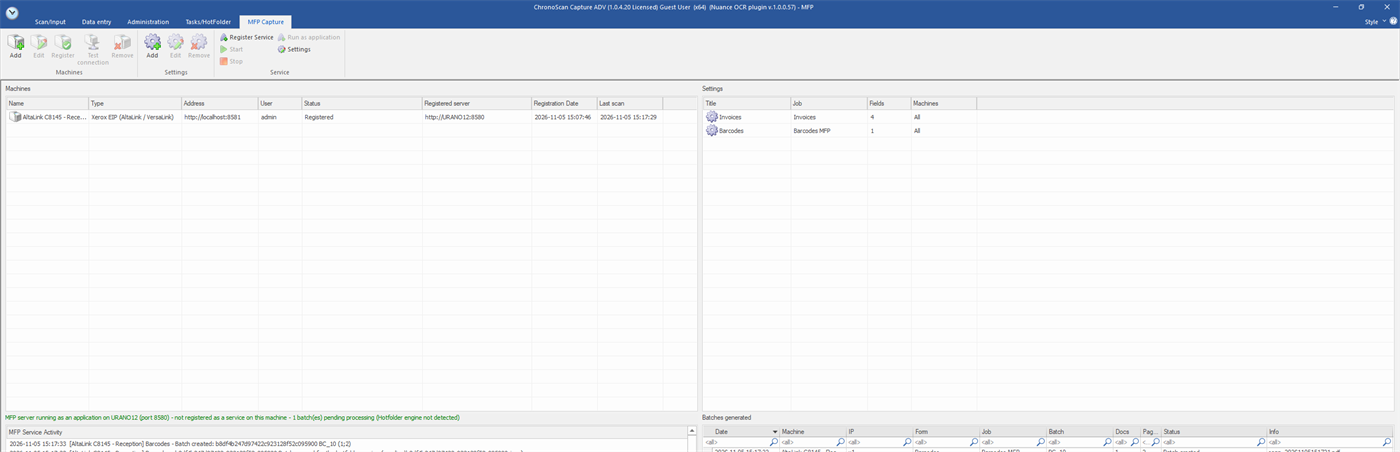
Everything is set up from the MFP Capture tab in ChronoScan: add a machine with its address and administrator credentials, test the connection and register it with one click. A capture configuration links a ChronoScan job with the fields to ask for and the scan settings, and it is published on the devices immediately. The ChronoScan MFP service, installed as a Windows service, serves the device application and receives the scanned documents.
Supported Devices
Xerox AltaLink and VersaLink, More to Come
MFP Connect uses the Xerox Extensible Interface Platform (EIP 3.7 or later) available on the AltaLink and VersaLink families, with no additional licenses on the device side. The integration is vendor-neutral by design: each manufacturer is a driver of the same service, so other brands can be added on request.