To properly display this page you need a browser with JavaScript support.
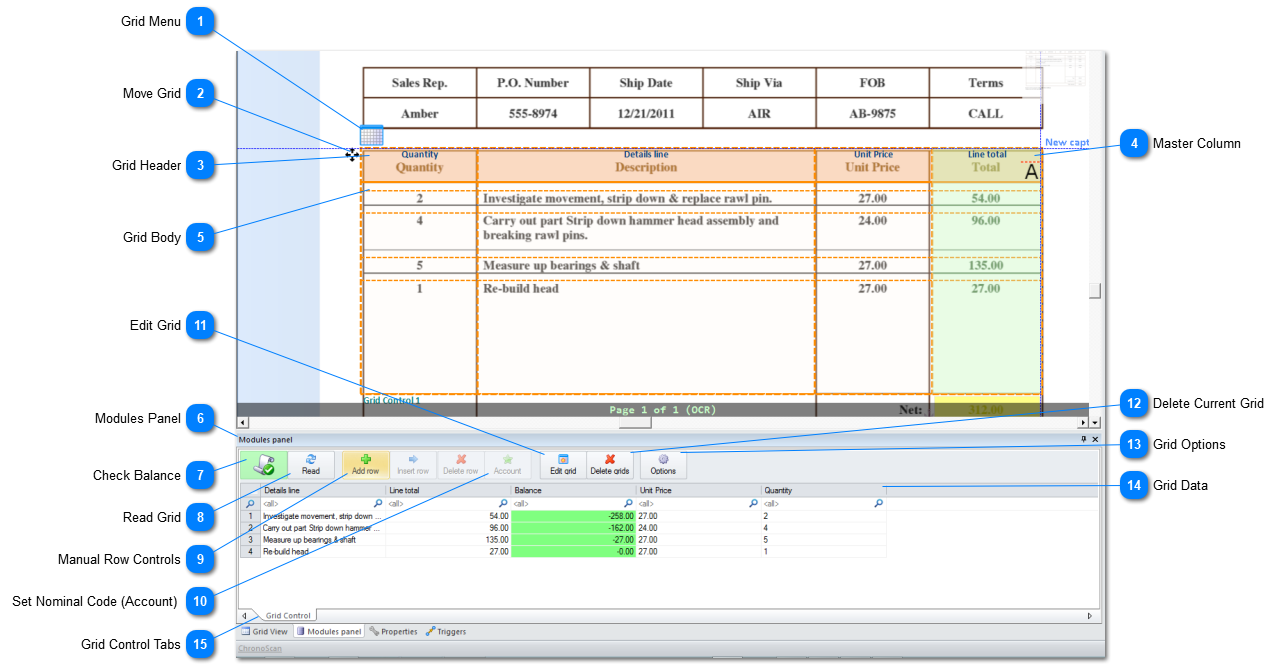
3.4.14. Capture Grid and Modules Panel
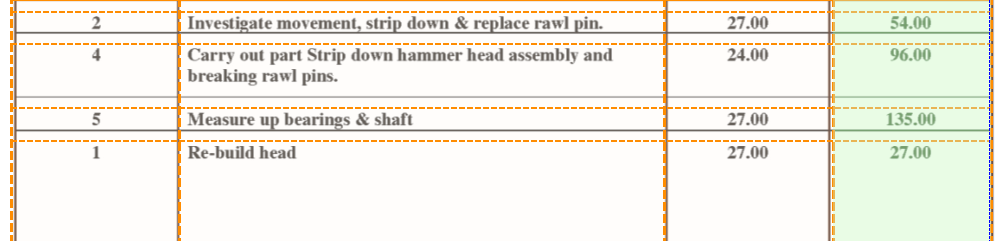
Grids are used by ChronoScan to capture table formatted data, like the invoice we can see on the picture above.
That is a simple Grid setup, ChronoScan is equipped to deal with a wide range of situations going from a very simple single Grid setup to a very complex multi-Grid setup.
The Modules Panel is fully documented
here .
In order to setup a grid it is necessary to first activate one or more Grid Controls on the Data Panels button on the Data Entry tab.
When one or more grid controls are active there will be options for each activated grid control on the
Modules Panel . After setting up all the columns for the grid it is time to draw the grid on the document using the Edit Grid button as shown in here .
A video tutorial on simple table data extraction using Grids follows:
For a more complex setup using three Grids there is the following video:
Grid Menu The Grid Menu button opens up the Grid Menu, allowing to setup Grid settings for the whole grid.
Then the mouse should hover over the grid to show up the Grid Menu button, next to the Move Grid buton.
D etails on the Grid Menu can be found
here .
Move Grid If the grid is the correct size but needs to be moved to fit the data that needs to be extracted the
Move Grid button will allow you to move the entire Grid.
Just hold the left mouse button and drag the grid.
Then the mouse should hover over the grid to show up the Move Grid button to the left of the Grid,
next to the Grid Menu button.
Grid Header The grid header is where adjustments to the columns should be made.
The green column is the master column, it will control how the different rows are split.
More about the Grid Header configuration can be found
here .
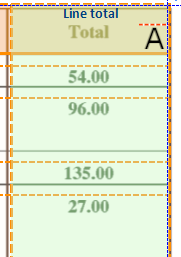
Master Column The master column show up in the Grid as green. It controls how the different rows will be split.
More about the master column configuration can be found
here .
Grid Body The body of the table is colored orange and it will show visually how the data present in it will be captured.
Each cell in orange represents the amount of data that will be extracted.
Cells in green represent cells from the master column.
Modules Panel The Modules Panel allow to capture and edit everything that is Grid related on ChronoScan.
It can be accessed from the Panels button on the Scan/Input or the Data Entry tabs.
Check Balance This button will make ChronoScan read the Grid and make sure the balance totals equal to the
Net Totals data field.
If the condition is not true ChronoScan will return an error.
Read Grid The Read Grid button will read the created grid and show up the results on the
Modules Panel .
Manual Row Controls When ChronoScan fails to identify the whole table the only option is to manually add rows and edit them.
Set Nominal Code (Account) If you want to setup the nominal code for a specific row, you should select the row on the
button to assign the nominal code to the row selected.
Edit Grid The Edit Grid button will enable to the New Capture Grid cursor and will allow the user to
redraw a previously created Grid or to draw it for the first time.
Delete Current Grid The Delete Grids button will delete the currently selected Grid.
Grid Options
Grid Data After clicking on the Read button all the data that was actually read from the table will show up here.
Grid Control Tabs Grid Control tabs for further editing and reading.