OCR Zones are a user defined area on a page of a document of a specific document type. OCR Zones can be used to capture text, numbers, amounts and dates.
Whenever choosing to use OCR Zones take into consideration that they are page specific and document type specific, meaning they will only work for their assigned page and document type besides having a fixed position.
To make the OCR Zone move from one document to another you will need to create a position relative OCR Trigger. That Trigger can be setup to work on all pages of your documents if your data moves from one page to another across different documents.
Other ways to capture data using ChronoScan are using OCR Triggers and Intelli-Tags which may not be page nor document type specific.
The data extracted from an OCR Zone should be assigned to a Data Field of a Document.
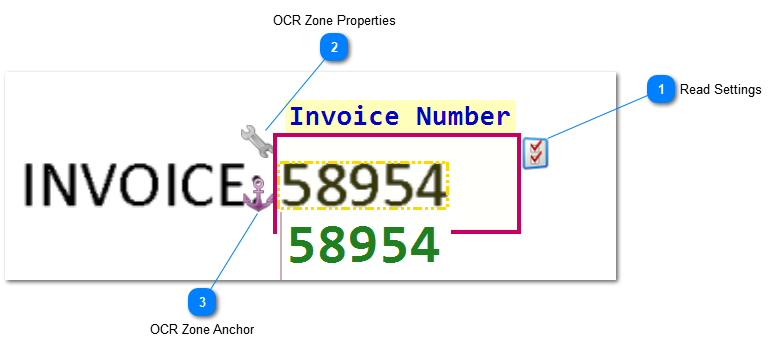
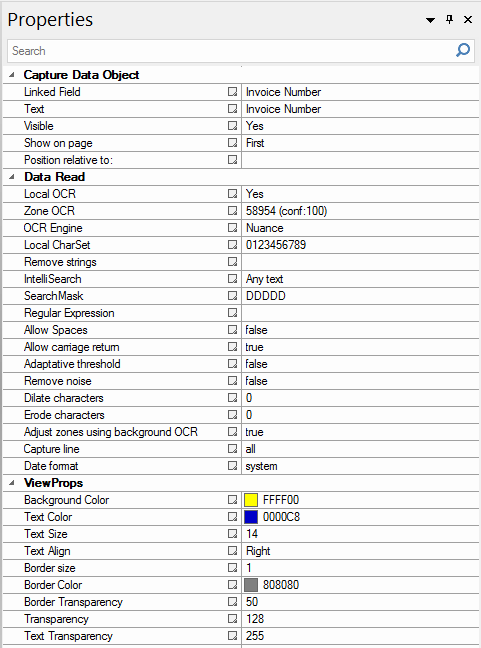
The Read Settings button will open the Advanced Reading options where it is possible to setup many kinds of custom capture for the data inside a OCR Zone.
You can set up OCR Zone basic properties using the OCR Zone Properties button.
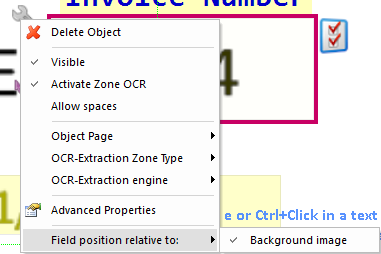
On the OCR Zone Properties menu it is possible to set the OCR Engine, Page and Triggers for that OCR Zone. It is also possible to remove the OCR Zone, open the Advanced Reading options to setup advanced capture options and perform a few other basic operations.
Using the anchor tool it is possible to quickly create a new trigger or copy a trigger from another OCR Zone. Click and hold the right mouse button and drag the anchor over the desired piece of text to create a new Trigger for that OCR Zone or over the anchor on another OCR Zone to copy the same Trigger from that OCR Zone.