×
Menu
Index

3.5.5.2. Configuration Parameters ChronoScan Window

3.5.5.2. Configuration Parameters ChronoScan Window
 
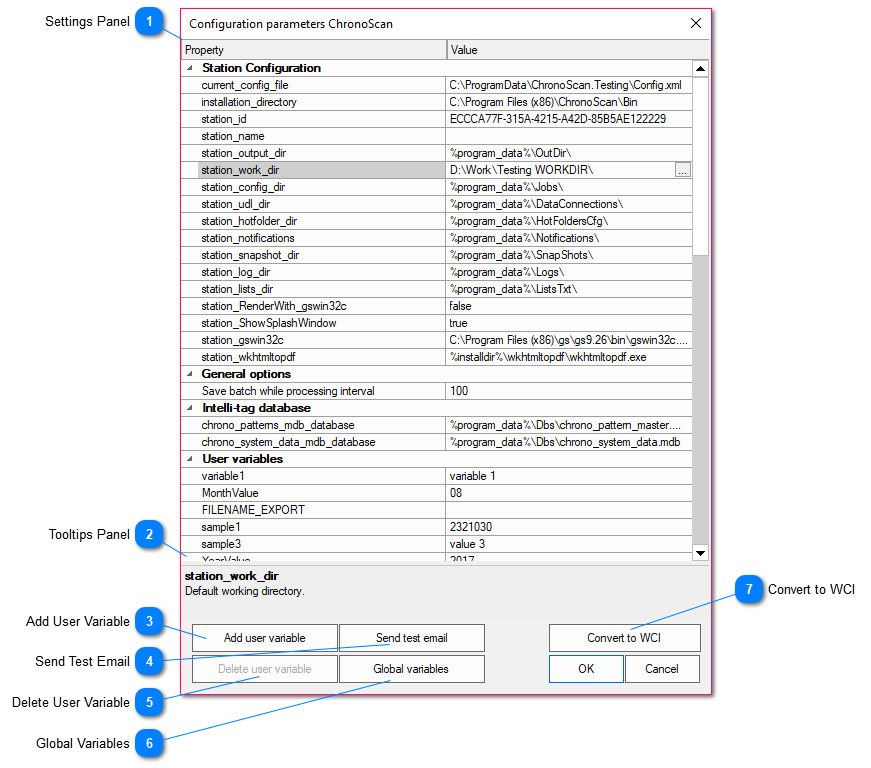
On this window it is possible to change ChronoScan settings such as folder structure, server settings, OCR Engine settings and Document Types server settings.
 
1

Settings Panel

1. Settings Panel
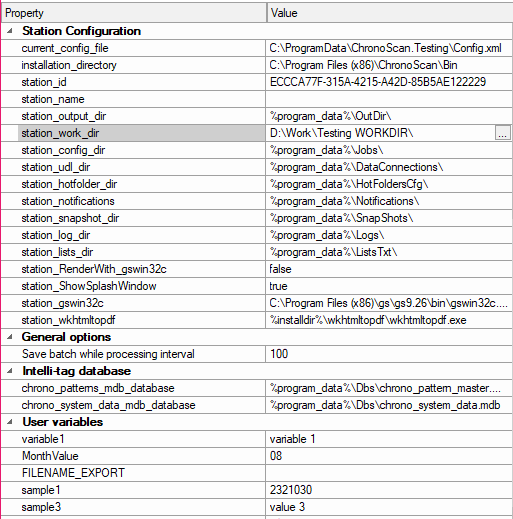
This panel shows all the settings, you can click on any field to change it's value.
 
2

Tooltips Panel

2. Tooltips Panel
This panel shows information about the selected field on the Settings Panel.
 
3

Add User Variable

3. Add User Variable
Click on the Add user variable button to add a new user variable.
 
4

Send Test Email

4. Send Test Email
After setting up the Administrator email settings, a test email can be sent using the Send test email button.
The error message will help identify any problems.
 
5

Delete User Variable

5. Delete User Variable
Select the desired user variable and delete it by clicking on the Delete user variable button.
 
6

Global Variables

6. Global Variables
The Global Variables button will open up the Global Variables window.
 
7

Convert to WCI

7. Convert to WCI
The Convert to WCI button is only available for ChronoScan Enterprise installations.
It will delete all content on the SQL database used for Enterprise and will convert all of the local database data (intelli-tags, suppliers, etc) into the Enterprise SQL database.