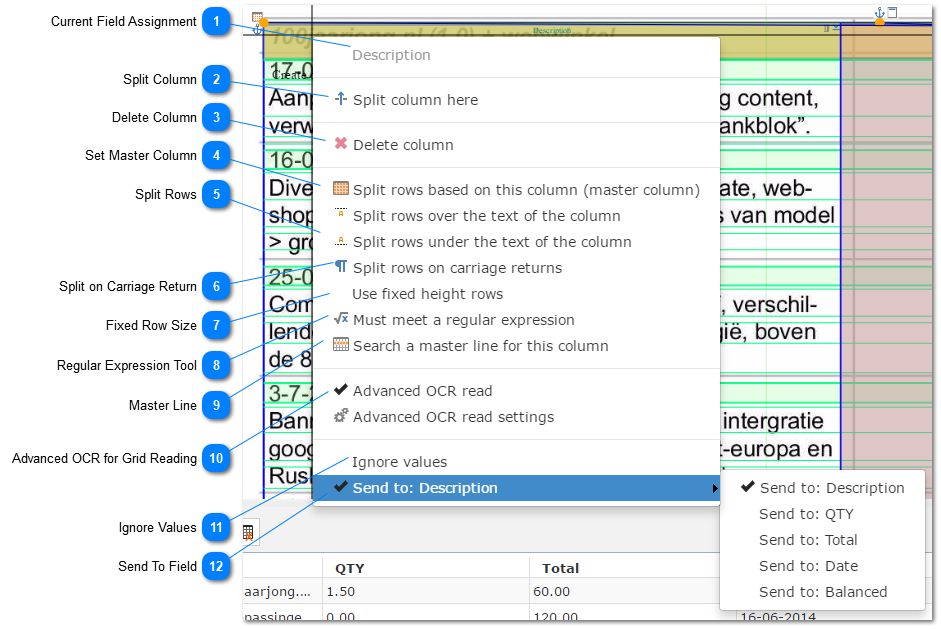
The main function of the column menu is to define the master column and row split options to make sure the data is being captured correctly.
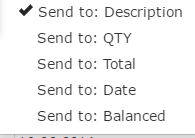
The "Send to" fields are used to assign a column to a data capture field for the grid.
Advanced split options like Master line and Regular expression will allow the user to eliminate unwanted data from the capture like headers and undesired rows.
Current Field Assignment
The field assigned to the current column will be displayed on the top of the Column menu.
Use this option to set the currently selected column as the master column. All the rows will be split according to the data on the master column. Don't forget to set the correct split option for your rows.
Enabling Split on Carriage Return will enable the carriage return split for row splitting. The user must set the value according to the detected space between each row. Learn more here.
Use this option to ignore the automatic detection algorithms and set the height of the rows manually by inputting a value that will be the same for every row.
Use this option to make ChronoScan use regular expressions to define rows. Every line that matches the regular expression will be used to start a new row.
Use this option to enable master line capture for tables with multiple headers or to ignore specific lines. Masterlines only recognize regular expressions.
Enabling this option will enable advanced OCR read settings for the current Grid. It will open the Advanced OCR Reading options. Using the Advanced OCR Options it is possible to correct OCR errors and validate data the same way it can be done with OCR Zones.